
Feed Hopper Liner fitment
Seat, fastener, and fitment notes that pair with Feed Hopper Liner.
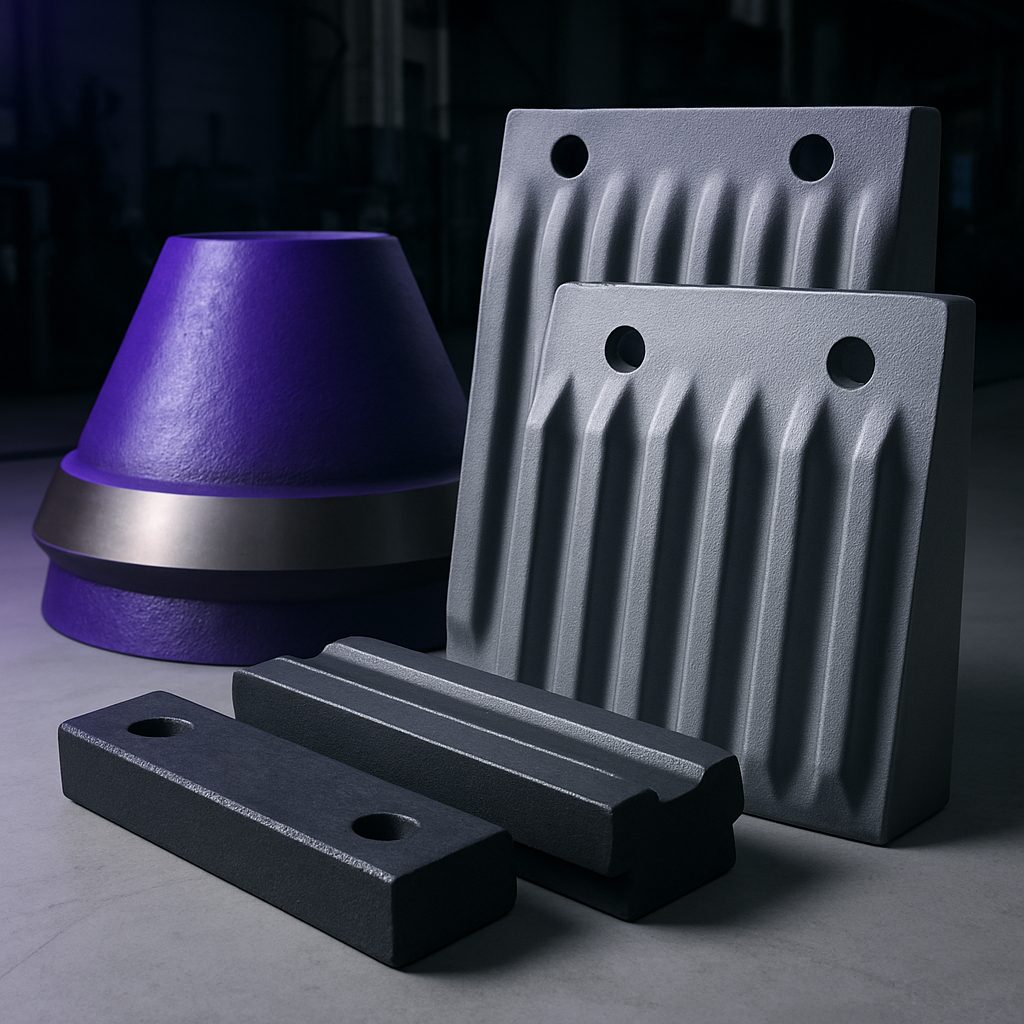
Browse stock, fastener kits, and seat notes.
- Seat clearance cues
- Fastener patterns
- Change-window photos
Also see wear notes and projects.
Crusher preparation and safe work
Before starting hopper liner fitment, follow your plant lockout and permit procedure. Isolate power at the MCC and tag out both the crusher and all feeder drives. Next, clear all loose feed and debris from the hopper. Use a scaffold or work platform to access the liner area safely. Lifting lugs on the replacement liners allow for chain block or forklift use, but always check the mass and use the correct lifting gear for the weight marked on the packing slip. Never stand under a suspended liner, and wear full PPE including gloves and safety glasses.
Bolting on and setting the liner
Seat the new liner against the clean hopper face, aligning bolt holes precisely. For AR plate, bolt-on fixing is standard, and we supply the correct grade bolts. For manganese, check if the OEM specifies any backing compound for gap filling. Tighten bolts in sequence, using a torque wrench and following the manufacturer’s spec. Avoid over-torquing as this can distort the liner or the hopper wall. Once secure, visually check for any gaps. Spin the feed conveyor by hand to confirm nothing fouls on the new liner before powering up.
First shift and bedding-in checks
After installation, run the feeder empty and then under low load to bed in the liner. During the first shift, check all bolts for tightness once the liner has reached operating temperature. Watch for any movement, noise or feed hang-up. If possible, inspect the liner after the first 100 tonnes to confirm full seating and that there’s no early wear at the feed point. This first check is critical, especially in plants running large blocky feed or where the old liner was missing or badly worn.
What our Crusher Wear Parts customers say
Verified Google reviews