
Wear Button Pack fitment
Seat, fastener, and fitment notes that pair with Wear Button Pack.
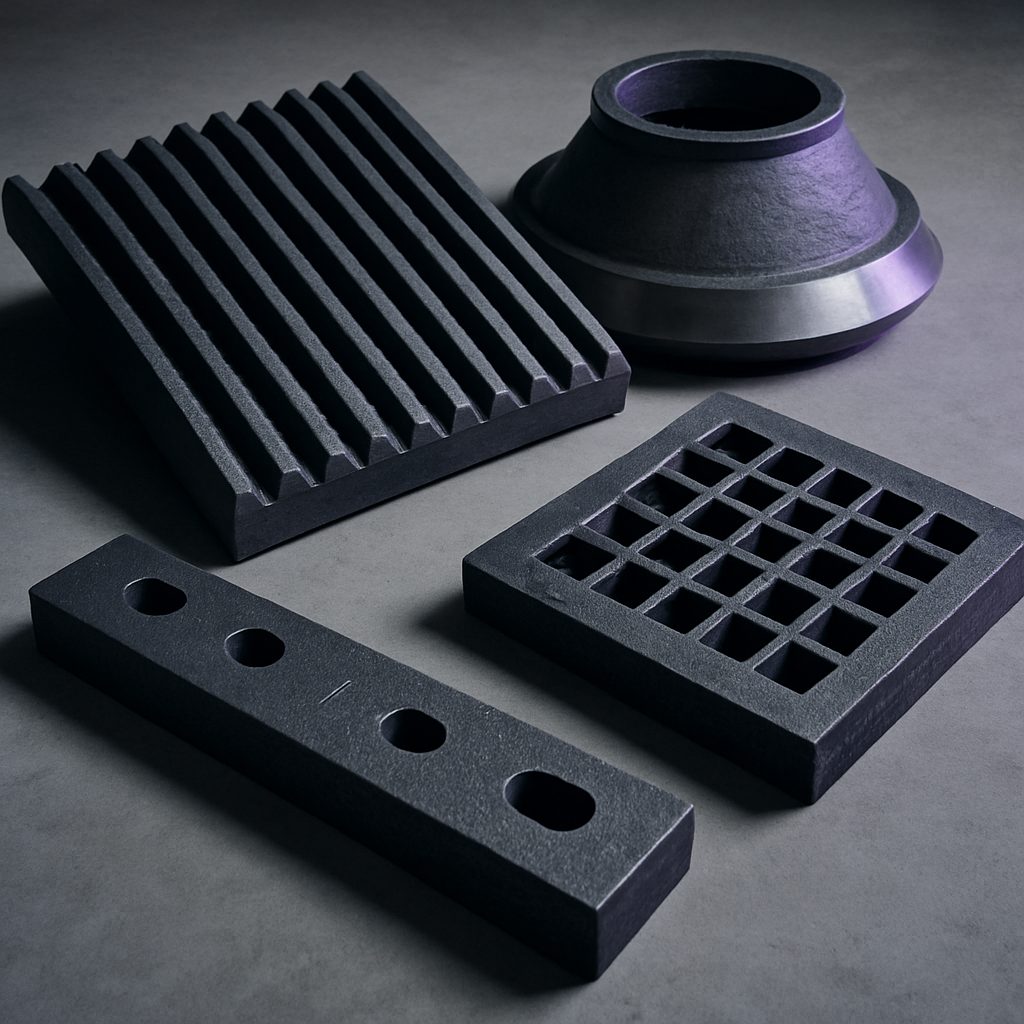
Browse stock, fastener kits, and seat notes.
- Seat clearance cues
- Fastener patterns
- Change-window photos
Also see wear notes and projects.
Getting your chute or feeder ready for new buttons
Before you start, lock out and isolate the plant, making sure there’s no risk of accidental start-up. Remove existing wear buttons or tiles, using a bakkie-mounted welder if required for cut-off. Clean down the base liner, grinding off old weld or debris so each new button sits flush and makes solid contact. For bolted designs, check holes for ovaling or elongation and clean out any packed-in fines.
Check lifting lugs on large tiles and use certified chains for safe handling. Never lift a full pack by hand if above 50 kg, and always follow safe lifting practices. For apron feeders, inspect for cracks or base metal thinning before installing new buttons.
Mounting and seating: welding, bolting and backing
Seat each button or tile according to the supplied grid map. For welded designs, use the recommended rod or wire and avoid excessive heat that could crack brittle materials like white iron. For bolted installations, torque each fastener to the spec in your OEM manual, using thread-lock if required. Where backing compound is called for, pour and cure according to product instructions before running the plant.
Check that every button sits level and matches the intended profile. Improper seating leads to early failure or creates hang-up points for fines, which can cause bridging or blockages.
Commissioning and first-shift checks
After fitment, cycle the plant empty to check for vibration, loose hardware or any sign of movement. Run a short load to bed in the buttons. After the first few tonnes, inspect for movement, lost fasteners or weld cracking. Retorque bolts and touch up welds if needed.
Keep a record of the installation date, grid pattern and any deviations made onsite. This helps with future change-outs and makes troubleshooting easier if wear patterns change over time.
- Cycle with no load first
- Inspect after first tonnes
- Record installation details
What our Crusher Wear Parts customers say
Verified Google reviews